Monday, May 20, 2019

Progress report....

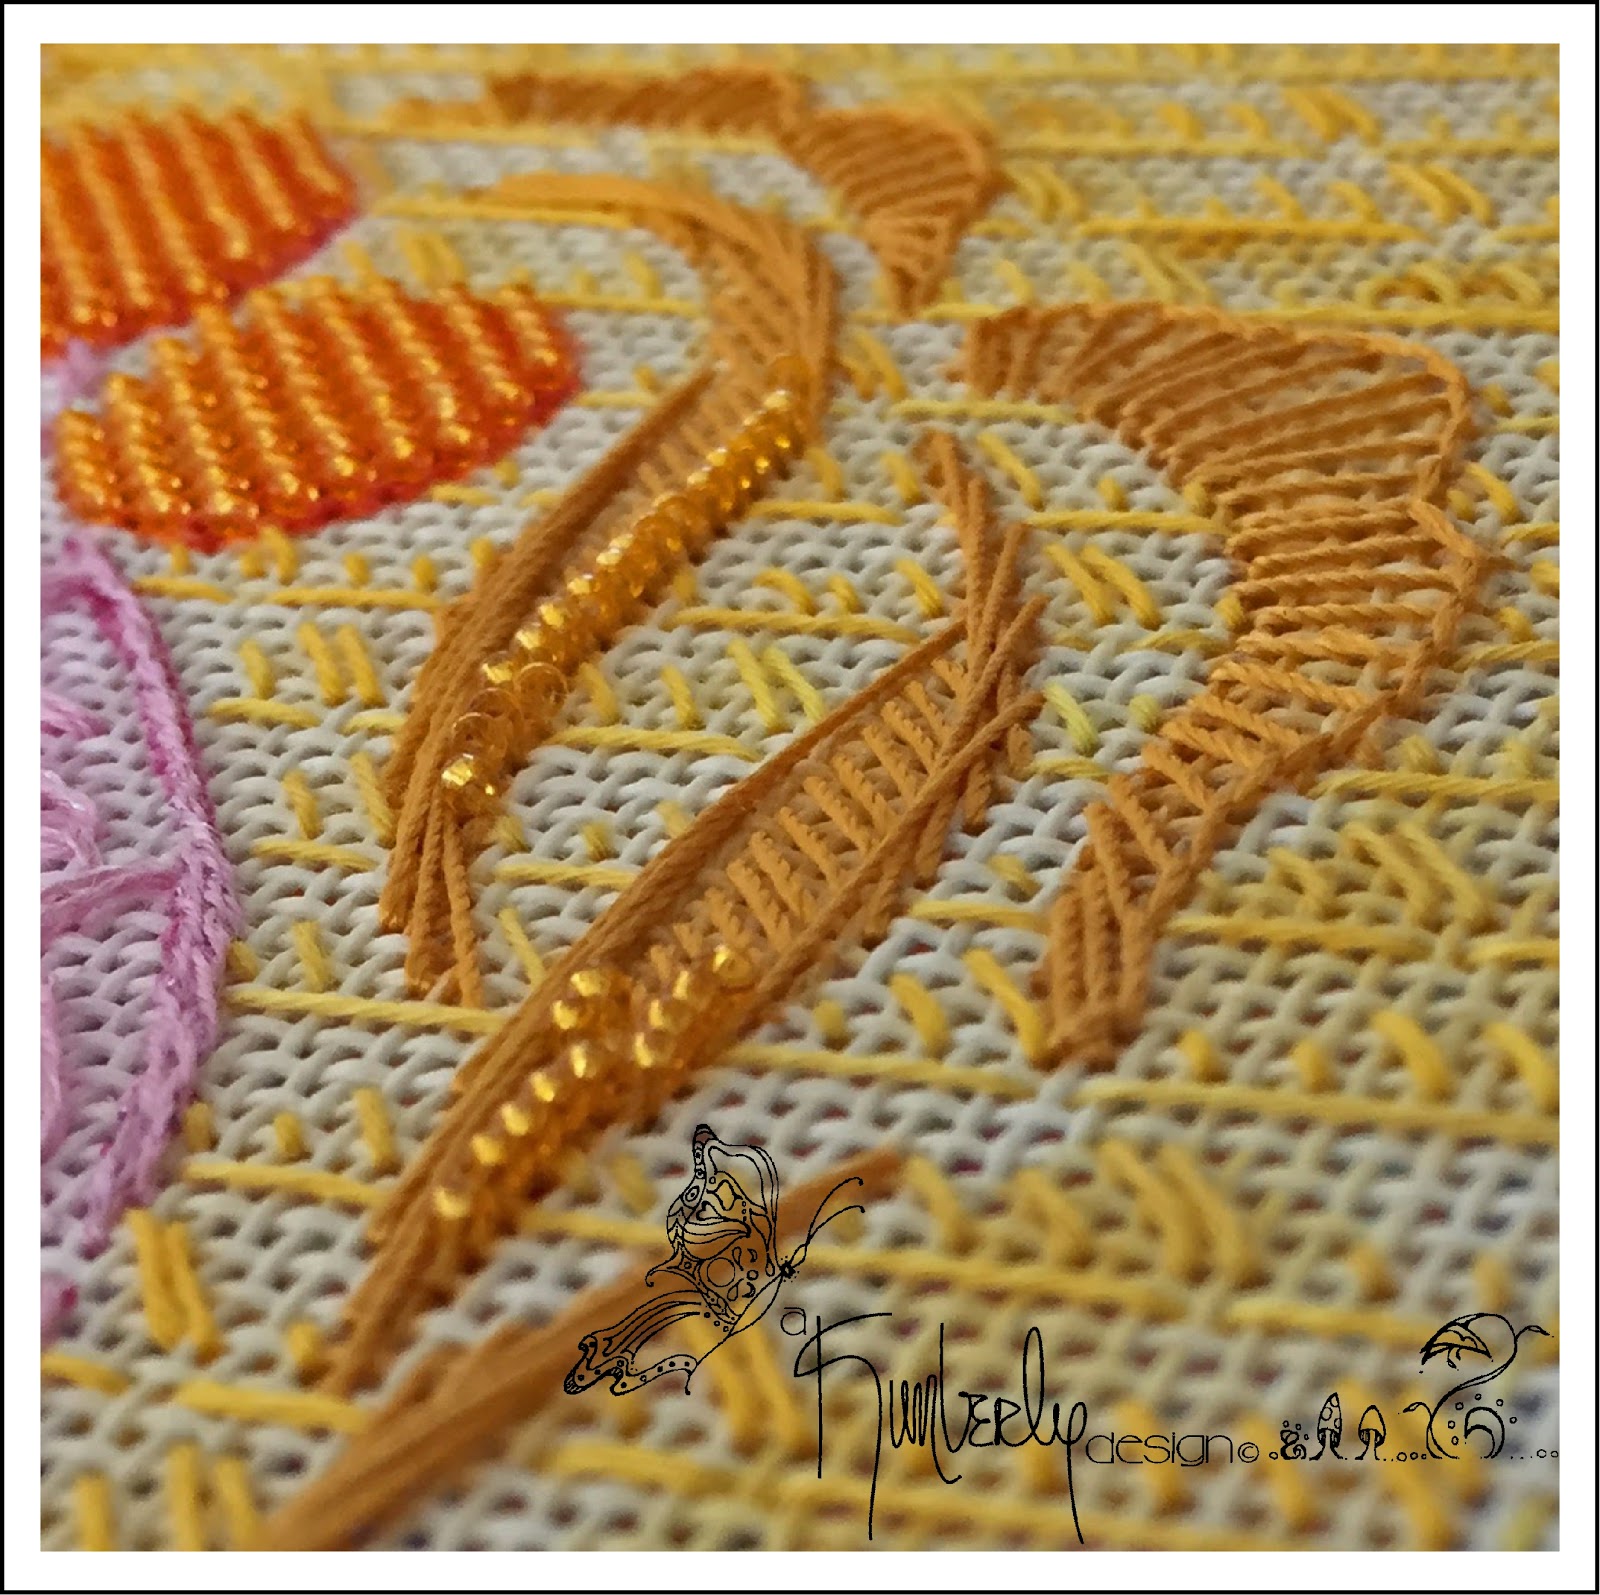
It's getting there!
Spring crops are growing on my canvas!

This piece is slated for 
 CANVAS 
a needlepoint adventure 2020!
Call 334 . 270 . 0064
or click the link below
for sign up information.

akimberlydesign.blogspot.com
Wait until you see what I do with those
crazy shaped pink fields!

akimberlydesign.blogspot.com
Couched Gimp from
Painters Thread
edged these beautifully
shaped gardens!


Saturday, May 4, 2019

So I did this thing ....

I entered my super ginormous free form
"Trio"
into a local fine art show ....
and they said 'yes'!
I also entered the original painting of
"Flying Jewels"
and they said 'yes' to it too!!!
How awesome is that!?!

The place: 
Florida Southern College
111 Lake Hollingsworth Dr.
Lakeland, Florida
Time: May 10th through June 7th
Opening Reception
Friday evening May 10, 6:30 to 8:30
If you're in town, 
I hope to see you there.
akimberlydesign.blogspot.com
"Trio"
Before we put the ... ahem ...
museum glass over these lovelies,
I had some camera fun. 
 

akimberlydesign.blogspot.com
Ready for their close up.

akimberlydesign.blogspot.com
I have a load of fun when I'm unleashed.
I wrapped strips of mat board
with 7mm River Silk
for these stems!

akimberlydesign.blogspot.com
Perfect landing....

akimberlydesign.blogspot.com
This was the original drawing for
what we affectionately call

'the big bug'.
It took me awhile to actually get it painted, it lived
as a pencil on canvas drawing for some time.
"Flying Jewels"


Just for kicks .... here you can see just
how ginormous this piece is compared
to Moi!
It was a challenge that I want
many more times.


A big thank you to 
Carolyn's Frame Up
Lakeland, Florida
for the beautiful 
framing of both pieces.


Wednesday, April 24, 2019

Moments...


I love that my granddaughter is now
behind the lens of a camera like her Mama!
This week she and Mimi were rocking fun 
shoes and we both felt impelled to take
'shoe shots'!
[her feet are tiny, 
mine just happen to be 
further away from the camera]


akimberlydesign.blogspot.com
It's been a big week for me!
I submitted the above design
'Blossom'
to a local art showcase.
The show was celebrating the
Divine Feminine and 
was scheduled for the
night of the 'Pink Moon'.
Called this as pink flowers bloom at this time, magic!
I was beyond thrilled to have my work
accepted and to be a part of this wonderful showcase.
All local women
exhibiting their work along with
two local songstresses 
and an amazing woman who preformed
'spoken word'. 
It was a night I'll remember always.


akimberlydesign.blogspot.com
Moi with my work.
Thank you to Chad Loving for the nice pic!

akimberlydesign.blogspot.com
My friends and followers know me ...
I had more than one person bring the above 
picture to my attention.  Wish I could give credit
to the originator of this perfect picture.
I had seen this and well....
see below.

akimberlydesign.blogspot.com

Hmmm .... I had an entire paragraph and it just disappeared!
.... and it was pretty great too.
 .... onward ...

The picture inspired me to create a
'Tent stitch only' piece.
I need what I title a 'no brainer' going all the time.
Something I can work on and not
have to think about what I'm going
to do here and there or ...
how will I write this so all can understand it!

I was asked today what this was called.
The above is a 
smaller version of what I finished today.
The words below it read ...

'always believe that
something wonderful
is about to happen'

So, introducing ...
'Foliage'
smaller version
akimberlydesign.blogspot.com
Last Stitch ;-)

akimberlydesign.blogspot.com
'Foliage'
This is going into a small
glass topped table in my space.

akimberlydesign.blogspot.com
If you follow me you know I participate
in a group called

'4 Squared Makers'
We put on small pop up art shows often.
Anyone can 
join us for a fee of $30.
You'll receive 4 - 4" square blocks

of unfinished wood with hanger attached.
You're given a 
theme and can create
whatever type media on your blocks.

Next month our small original works of art
will be on 
display at
Hillcrest Coffee House
in Lakeland, Florida.
You can follow us on Facebook for more details.
Each piece of original art sells for $45. 
My three so far for this show,
there is another sweet 

little bird in the works for my set this time.


Monday, April 8, 2019

Classes....

Teaching is an awesome opportunity for me.
I get to meet many stitchers from all over
the country.
Most often we end up teaching each
other a thing or two. 
Even more
awesomeness!

Below is a listing of upcoming opportunities ;-)

akimberlydesign.blogspot.com
First up....
'Marbles'
I'm teaching this for 
Chandail Needlework
in Houston, Texas

November 16 - 17, 2019
[click on shop name for details]

akimberlydesign.blogspot.com

akimberlydesign.blogspot.com

akimberlydesign.blogspot.com

akimberlydesign.blogspot.co
Starting 2020!
In January I'll be in Montgomery, Alabama at

Canvas 'a needlepoint adventure'

"My Passion"
January 17 - 18 - 19, 2020

...choices, also being offered is
"Crop Circles"
[shown below]

akimberlydesign.blogspot.com

akimberlydesign.blogspot.com

akimberlydesign.blogspot.com

akimberlydesign.blogspot.com
Also being offered through
Canvas 'a needlepoint adventure'

'Crop Circles'


January 20 - 21 - 22, 2020

[this one is a work in progress, I'm posting updates regularly]

akimberlydesign.blogspot.com

akimberlydesign.blogspot.com

akimberlydesign.blogspot.com

akimberlydesign.blogspot.com

akimberlydesign.blogspot.com
In February of 2020
I hope to be on the faculty once more for
Blue Bonnet Studios
in Houston, Texas.

'Bubbles'

February 15 - 16, 2020

akimberlydesign.blogspot.com

akimberlydesign.blogspot.com
'Caps 'N Curls'

Blue Bonnet Studios


February 17 - 18, 2020

akimberlydesign.blogspot.com


Saturday, February 9, 2019

Events ....

This coming week finds me winging my way back to
TEXAS!!
Wow ....
I truly can't believe it's been over six years since
I moved from Austin to Florida.

Friend Corliss kept putting the bug in my ear to
submit teaching pieces to 

I finally did and well, 
here I happily go!

Below are the two pieces being taught this year.
Yes, I've submitted for next year and two more pieces
were accepted.  When general sign up is open, I will
definitely post the choices here and on my Facebook pages.

akimberlydesign.blogspot.com
"Yes, I'm Special"
hand painted needlepoint design and guide by
a Kimberly design

akimberlydesign.blogspot.com
Soooo, special ....

akimberlydesign.blogspot.com
Close up of needle weaving for those
glorious eyed feathers.

akimberlydesign.blogspot.com
"Tree of Life"
hand painted needlepoint design and guide by
a Kimberly design

akimberlydesign.blogspot.com
Cutest mushrooms ever!

akimberlydesign.blogspot.com
Beading and ribbon work of all sorts.

akimberlydesign.blogspot.com
.... there are almost always bullions ;-)


Monday, January 21, 2019

...sharing techniques

akimberlydesign.blogspot.com

My technique for a beaded edge to finish off your beautiful needlepoint.

This is a technique I developed years ago when I did all
charted work and wearable art pins.
The edge of beads provides the perfect folding line.
Use size 11 beads with matching beading thread.
[tip...I always beeswax my beading thread and
I use a short John James ball point size 10 beading needle.]

akimberlydesign.blogspot.com

Follow Step One and Step Two as charted.

akimberlydesign.blogspot.com

akimberlydesign.blogspot.com

Next, trim away excess canvas, leaving about
an inch plus all the away around as in first photo.
Now miter corners and fold in sides.
I lightly press with a warm iron. This does not
require you to mash with the iron, there is 
enough sizing in your canvas that lightly
pressing will hold it in place.

akimberlydesign.blogspot.com

Insert a piece of felt under the folded edges.
This adds some extra depth to the piece and
it hides the folded edges from being seen
through any openness in your work.

akimberlydesign.blogspot.com

 I mount all on covered acid free foam core, 
cut about 1/4" smaller than beaded edge piece.
The center picture above shows the felt
being attached.  I use white glue for this, let 
it dry completely.  The last step is to attach the 
stitched piece to the board. This is accomplished
with clear or white nylon thread. This enables
you to sew through the edges of your piece without
the stitches showing. Sew through piece and just the edge
of the foam covered board.  
Now you can hand this all to your framer to mount 
on a backing board [I use the same white glue for this.]
I came up with this so that there is no glue on my 
needlework! My pieces float beautifully in 
the shadow boxes I use for framing. 

akimberlydesign.blogspot.com

Tada!